We now have a dashboard to work with, make sure you take a look at Laravel Jetstream docs.

- Let's first replace the Jetstream welcome component with our own new map anonymous component:
mkdir resources/views/components
touch resources/views/components/map.blade.php
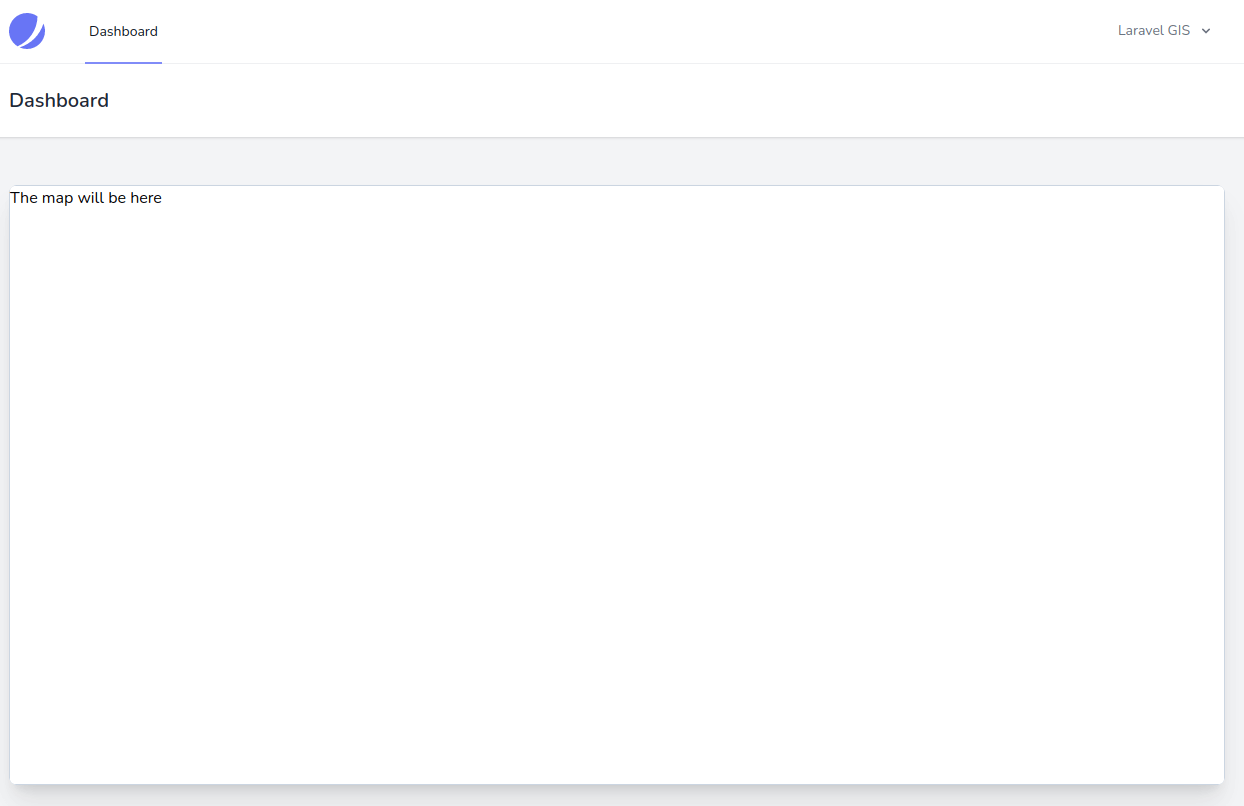
Create a temporary map placeholder in the component blade file:
<div>
    <div class="map h-[600px] border border-slate-300 rounded-md shadow-lg">
			The map will be here
    </div>
</div>
Replace the following line in the resources/views/dashboard.blade.php file:
<x-app-layout>
    <x-slot name="header">
        <h2 class="font-semibold text-xl text-gray-800 leading-tight">
            {{ __('Dashboard') }}
        </h2>
    </x-slot>
    <div class="py-12">
        <div class="max-w-7xl mx-auto sm:px-6 lg:px-8">
            <div class="bg-white overflow-hidden shadow-xl sm:rounded-lg">
		    	<x-jet-welcome />
                <x-map />
            </div>
        </div>
    </div>
</x-app-layout>
- Open a new terminal window in the project directory and run "dr npm run build"
- Open your browser at "http://localhost:8080/dashboard" and should see the following placeholder:

- Let's install OpenLayers npm dependencies:
dr npm i ol
- Create a components folder in resources/js and another one in resources/css and add a map.js and map.css file in it:
mkdir resources/js/components
mkdir resources/css/components
touch resources/js/components/map.js
touch resources/css/components/map.css
resources/js/components/map.js content:
// we are using imports so we don't have to ship all of the openlayers library, only the components
// we actually use.
import Map from "ol/Map.js";
import View from "ol/View.js";
import TileLayer from "ol/layer/Tile.js";
import OSM from "ol/source/OSM.js";

// wait until Alpine.js is initialized and create our component function called map
document.addEventListener("alpine:init", () => {
    Alpine.data("map", function () {
        return {
            map: {},
            init() {
                // a openlayers map has a target (a html dom element), layers and a view
                // we initialise the map using x-ref="map" on the element and referencing it
                // with the magic method this.$refs.map in our alpine component, this will
                // allow for multiple component on the same page.
                // our map also has a TileLayer (we will see the difference between a TileLayer and
                // a VectorLayer in the next post. for our first map, we will use the OpenStreetMap
                // source for the layer.
                // finally, the maps' view will be centered to [0, 0] coordinates of the EPSG:4326 (WGS84)
                // projection at a zoom level of 2. we use the WGS84 projection because it's the one used
                // by GPSs in Latitude/Longitude. we also use it because we will later store our spatially
                // indexed data in postgis with this projection.
                this.map = new Map({
                    target: this.$refs.map,
                    layers: [
                        new TileLayer({
                            source: new OSM(),
                        }),
                    ],
                    view: new View({
                        projection: "EPSG:4326",
                        center: [0, 0],
                        zoom: 2,
                    }),
                });
            },
        };
    });
});
resources/css/components/map.css content:
@import 'ol/ol.css';
- Make the following changes to the vite.config.js file:
import { defineConfig } from 'vite';
import laravel, { refreshPaths } from 'laravel-vite-plugin';

export default defineConfig({
    plugins: [
        laravel({
            input: [
                'resources/css/app.css',
                'resources/css/components/map.css',
                'resources/js/app.js',
                'resources/js/components/map.js',
            ],
            refresh: [
                ...refreshPaths,
                'app/Http/Livewire/**',
            ],
        }),
    ],
});
- Now, let's adjust the layout file to use blade stacks to import our dependencies only when we need them, make the following changes to the resources/views/layouts/app.blade.php:
<!DOCTYPE html>
<html lang="{{ str_replace('_', '-', app()->getLocale()) }}">
    <head>
        <meta charset="utf-8">
        <meta name="viewport" content="width=device-width, initial-scale=1">
        <meta name="csrf-token" content="{{ csrf_token() }}">

        <title>{{ config('app.name', 'Laravel') }}</title>

        <!-- Fonts -->
        <link rel="stylesheet" href="https://fonts.bunny.net/css2?family=Nunito:wght@400;600;700&display=swap">

        <!-- Scripts -->
        @stack('styles')
        @stack('scripts')
        @vite(['resources/css/app.css', 'resources/js/app.js'])

        <!-- Styles -->
        @livewireStyles
    </head>
    <body class="font-sans antialiased">
        <x-jet-banner />

        <div class="min-h-screen bg-gray-100">
            @livewire('navigation-menu')

            <!-- Page Heading -->
            @if (isset($header))
                <header class="bg-white shadow">
                    <div class="max-w-7xl mx-auto py-6 px-4 sm:px-6 lg:px-8">
                        {{ $header }}
                    </div>
                </header>
            @endif

            <!-- Page Content -->
            <main>
                {{ $slot }}
            </main>
        </div>

        @stack('modals')

        @livewireScripts
    </body>
</html>
- Finally, push our scripts dependencies from our resources/components/map.blade.php file:
<div>
    <div class="map h-[600px] border border-slate-300 rounded-md shadow-lg">
// Instanciate the alpine component with the fonction previously created
<div x-data="map()">
// Use the x-ref to reference our map, this way, we can have multiple component on the page if needed
    <div x-ref="map" class="map h-[600px] border border-slate-300 rounded-md shadow-lg">
    </div>
</div>

@once
    @push('styles')
        @vite(['resources/css/components/map.css'])
    @endpush
    @push('scripts')
        @vite(['resources/js/components/map.js'])
    @endpush
@endonce
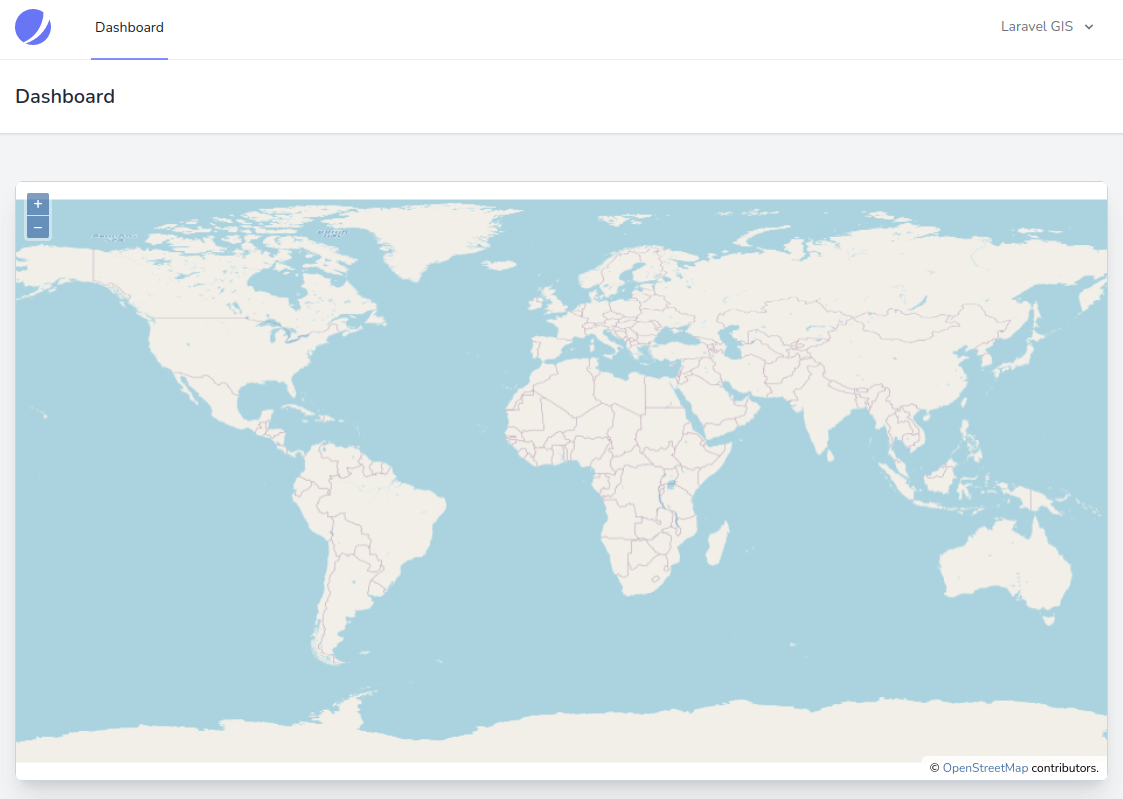
- Make sure your you run "dr npm run build" again; we should now have an empty working map with OpenStreetMap working:
Stay along; in the next post, we will start adding and styling custom vector data to the map.
The commit for this post is available here (the content of the .env file is commited in the .env.example file): openlayers-in-laravel


Hello world! Just stumbled upon your site, an I'm currently working on building out a livewire component for a map (using Mapbox.com), I'll start diving into these guides over the next few days and let you know if I have any feedback. Awesome stuff.
Hey Alex!
Glad to have a fellow Canadian here! Let me know if you have any questions or comments!
Cheers!